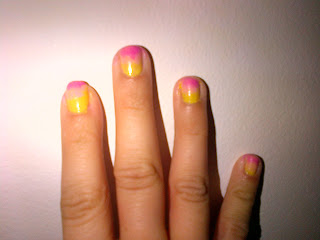
I recently discovered a nail art technique what I would describe as creating a gradient of colours across your nail however the technical term seems to be called Ombre Nails. If you search Ombre Nails into Google images you will get hundreds of pictures of different colour combinations come up, some really are beautiful.
Anywho, of course I decided that I must try this so I watched a couple of "How To" videos on YouTube and thought it looked fairly straight forward. Now that I have given it a go I can confirm that my thoughts were right, anyone can do this so make sure you give it a try!
Finished outcome:
 |
| Nail Art Ombre Effect 3 colours - Gradient Sponge Technique |
You will need:
- 2 or 3 different shades of nail polish / varnish / paint that you feel go well together and compliment each other.
- Make-up sponge
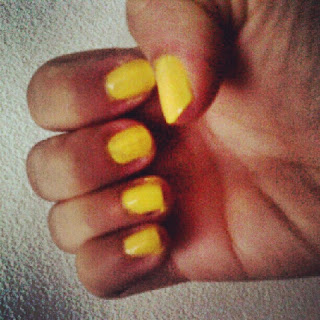
I began by painting my nails with 3 coats of Barry M Lemon Ice Cream as it is quite a thin nail polish and needs several coats to be the strong colour that I wished it to be.
 |
| Barry M Lemon Ice Cream Nail Polish |
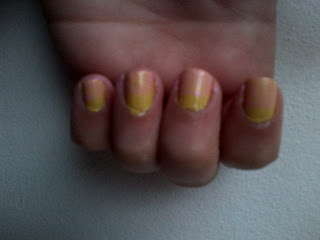
You then dab the sponge onto your nail slightly above the bottom of your nail so as not to cover up the yellow (or whatever colour you used) entirely. Do this along each of your nails adding more nail varnish to the sponge when required.
 |
| Nail art ombre effect - gradient sponge technique |
I then took my third and final colour which was the Rimmel strawberry fizz shade and painted that onto the make-up sponge. I then dabbed this onto the tip of my nails slightly higher than the start of the previous colour so that both the yellow and light pink were also showing. The picture at the top of this post is the finished outcome.
You can use as many different shades / colour nail polishes as you wish. I chose 3 as I had only just cut my nails short and 3 fitted quite comfortably onto my nails.
Glitter is a great effect to add to the tips of the nails. I do not have any glitter nail polish at the moment but this is something that I would really loved to have tried. I saw this done when I searched in images and it really finished the ombre effect off beautifully.
If you have tried this effect then please feel free to comment below with links to your blog posts or tell me about how it went. What colours did you use and how many? I would love to hear from you.
Robin Sparkles


Looks lovely. I wouldn't have put those colours together, but they actually work really well x
ReplyDeleteThanks very much. It reminded me of a sunset on holiday in a beautifully hot destination...far away from where I am now! :0) x
DeleteI love this idea :)
ReplyDeleteawesome design!!
Handmade Skirt Giveway
Aww thank you, your skirt giveaway looks fabulous!
DeleteI'm trying my first attempt at ombre nails tonight, wish me luck :)
ReplyDeletehttp://polkadotsophie.blogspot.co.uk
Aww be sure to let me know how it went :0)
DeletePop I link below to your blog post and I shall check it out.